
The complete guide
H4 Halogen Headlight Bulbs: A Practical Buyer's Guide
The slow fade nobody notices
Headlight bulbs rarely die in a dramatic way. They fade. A bulb that has been working for a few years puts out less light than it did when it was new, and because the change happens gradually, your eyes go along with it. You start driving a little slower on unlit roads. You lean forward at junctions. You tell yourself the roads are darker than they used to be.
Then one bulb fails outright, and standing in front of the car you can suddenly see the difference between the two sides. The old bulb looks dull and faintly yellow next to the empty socket you are about to fill. That comparison is the real reason people start hunting for the best h4 halogen headlight bulbs they can get hold of quickly.
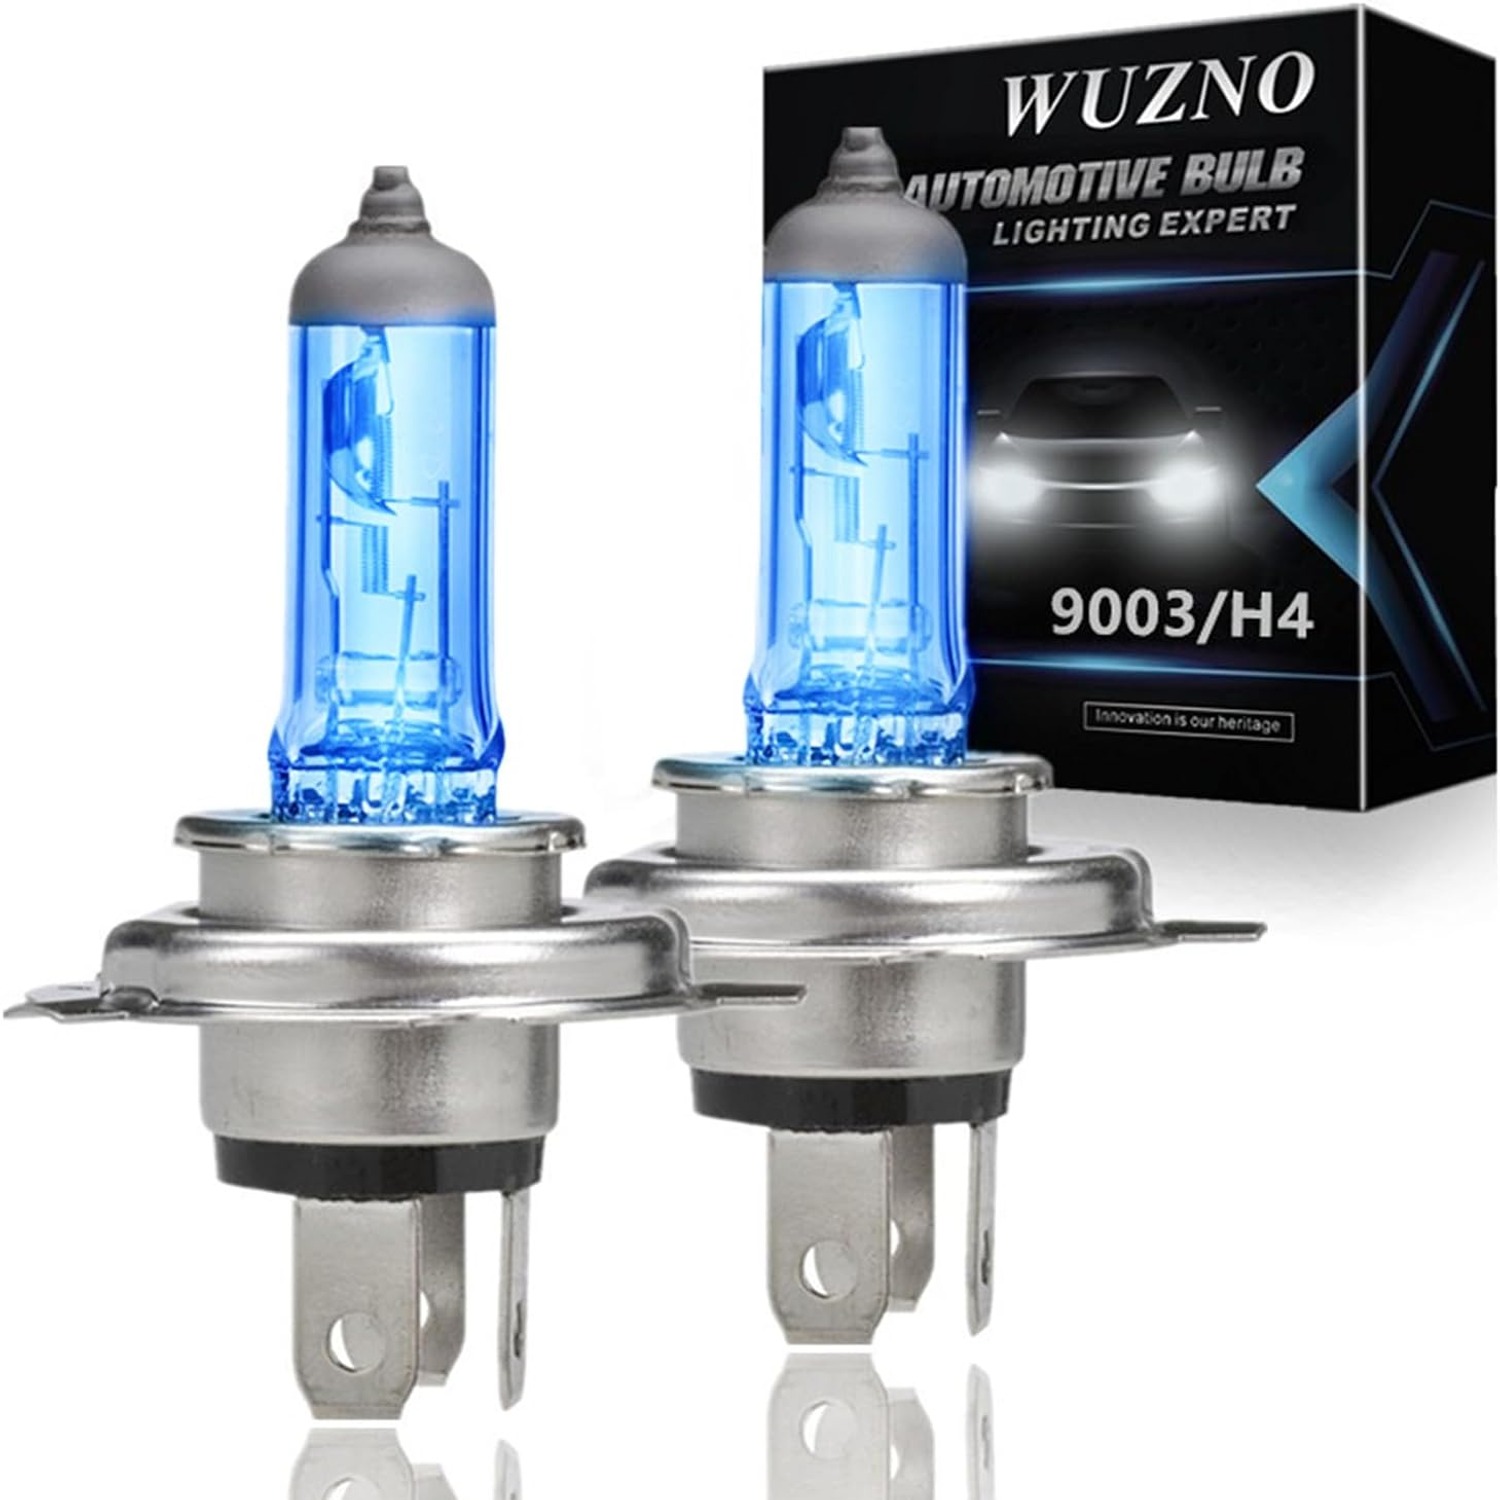
This pack contains two bulbs with the H4 fitting, rated at 12 volts and 60/55 watts, with a listed colour temperature of 5000 Kelvin. That is the whole specification, and this guide is about helping you work out whether those numbers match what your vehicle needs.
What the H4 fitting actually is
H4 is not a brightness level or a quality grade. It is a description of the physical and electrical interface between the bulb and the vehicle: the shape of the base, the position of the three locating tabs on the flange, and the three-pin connector at the back.
What makes H4 distinctive is that it carries two filaments in one glass capsule. One filament handles the dipped beam, the shorter pattern you use in traffic. The other handles the main beam, the long reach you switch on when nothing is in front of you. A small metal shield sits inside the bulb to shape the dipped beam so it does not throw light straight into the eyes of oncoming drivers.
Because of that dual-filament design, a single H4 bulb does the job that two separate bulbs do on some other systems. It also explains the two-part wattage figure. The 60 watt number is main beam, the 55 watt number is dipped beam.
You will also see the same fitting written as 9003 or HB2 in parts lists and on packaging. These are naming conventions used in different places, and the base is the same. If your old bulb has any of those three markings, this pack has the right shape.
Reading the numbers on the box
12 volts. This is the vehicle system voltage. Cars and most motorcycles run on 12 volt electrics. Trucks, buses and some commercial machinery run 24 volt, and they need bulbs built for it. Using the wrong voltage bulb is not a minor mismatch, so confirm this first if you are working on anything larger than a car.
60/55 watts. This is how much power each filament draws. It is the common rating for H4 and matches the wiring most vehicles with this fitting are built around. A bulb that draws more than the circuit expects is asking for trouble with connectors and wiring.
5000 Kelvin. This is a colour description, not an output figure. Lower numbers on the Kelvin scale look warm and yellow. Higher numbers look cool and white, and higher still starts to look blue. At 5000K the light reads as a clean white. It is a tone many drivers prefer because road signs and lane markings tend to look sharper under it than under a warm yellow beam.
One point worth being blunt about: a colour temperature figure tells you nothing about how much light a bulb makes. If anyone sells you a bulb purely on its Kelvin number, they are selling you a colour, not a beam. We list the figure because it is a real specification, not because it is a performance claim.
Who this bulb suits
The straightforward case is someone replacing a failed or tired H4 bulb with another H4 bulb. If you have read the marking on the old one and it says H4, 9003 or HB2, and your vehicle is 12 volt, the fitting lines up.
It also suits anyone who keeps a boot kit stocked. A spare headlight bulb is one of those items that costs little and saves a great deal of inconvenience if a bulb goes while you are far from a shop. Buying the best twin pack headlight bulbs you can and keeping the pair together means you have a matched set when you need them.
Who it does not suit: anyone whose vehicle takes a different fitting, anyone running 24 volt electrics, and anyone set on LED. The light source here is halogen, which works by heating a filament inside a gas-filled quartz capsule. That is a different technology from LED, and we are not going to pretend otherwise.
Checking the fitting before you buy
There are two reliable ways to check, and one unreliable one.
The first reliable way is the owner manual. Look for the headlight row.
The second reliable way is the bulb itself. Open the bonnet, remove the rubber dust cover behind the headlight, unplug the connector, release the clip, and take the bulb out. The marking is stamped on the metal base or printed on the plastic collar. Hold it up to the light if the print is faint.
The unreliable way is guessing from the shape of the headlight unit or from what a friend with a similar car uses. Manufacturers change bulb specifications across model years and across trim levels, and two cars that look identical from the outside can take different bulbs.
If you have checked and you are still unsure, ask us. Send the marking you can read and we will tell you honestly whether this bulb matches it.
Fitting it without drama
Start with the engine off, the ignition off and the headlights off. Give an old bulb time to cool. Halogen bulbs run very hot, and a bulb that has just been switched off will burn you.
Access varies more than the job itself does. Some vehicles give you a clear reach behind the headlight unit. Others want the battery box, the air intake or the washer bottle out of the way first, and a handful need the whole headlight unit removed. Have a look before you commit, and if the space is impossible, a workshop will do the swap quickly.
The one rule that matters most is simple. Do not touch the glass with bare fingers. Skin oils leave a residue on the quartz, and when the bulb heats up, that spot gets hotter than the surrounding glass. It can shorten bulb life. Hold the bulb by its base or its plastic collar. If you do touch the glass by accident, clean it with a cloth and a little methylated spirit before fitting.
Line up the three tabs on the flange with the notches in the reflector. The bulb only goes in one way round. Seat it fully, secure the clip, refit the connector, replace the dust cover properly so water cannot get in, then test both dipped and main beam before you close the bonnet.
Keeping the light good
Bulbs are only half the story. A clouded or yellowed headlight lens will throw away a chunk of the light your bulbs produce, and no new bulb will fix that. If the plastic on the front of your headlights has gone hazy, a restoration kit or a professional polish is usually a better use of money than a bulb upgrade.
Check the dust covers at the back of the headlight units are seated properly, because moisture inside the housing dulls the reflector over time. Give the lenses a wipe when you clean the car. And if the beam looks wrong after a change, have the aim checked, since badly aimed headlights dazzle oncoming drivers and leave the road in front of you darker than it should be.
Keep the spare bulb in its box. Loose in a toolbox, a bulb gets crushed or the pins get bent, and you find out at the worst moment.
The short version
This is a pair of H4 halogen headlight bulbs, 12 volt, 60/55 watt, with a 5000 Kelvin light colour. There are two in the pack so you can change both sides together and keep the light even.
It replaces an H4 bulb only, which is also written as 9003 or HB2. Check the manual or the marking on the old bulb before you order. We do not claim fitment for any named vehicle, and we do not claim any approval marking for this bulb, so if you need an approved one, check your old bulb and talk to us first.
Handle it by the base, let the old one cool, and fit both sides while you are in there.