
The complete guide
H1 Halogen Headlight Bulbs, A Straightforward Buyer's Guide
The problem nobody notices until it is dark and raining
Headlight bulbs rarely die in one dramatic moment. They fade. A filament ages, the glass darkens slightly, and the light that lands on the road gets a little weaker every month. Because the change is so gradual, your eyes keep pace with it. You carry on driving and your brain tells you nothing is wrong.
Then one wet evening on an unlit road, you realise you are leaning forward over the wheel, squinting at the edge of the tarmac. Or a bulb finally gives up and you drive home with one eye. That is usually the moment people start searching for a replacement.
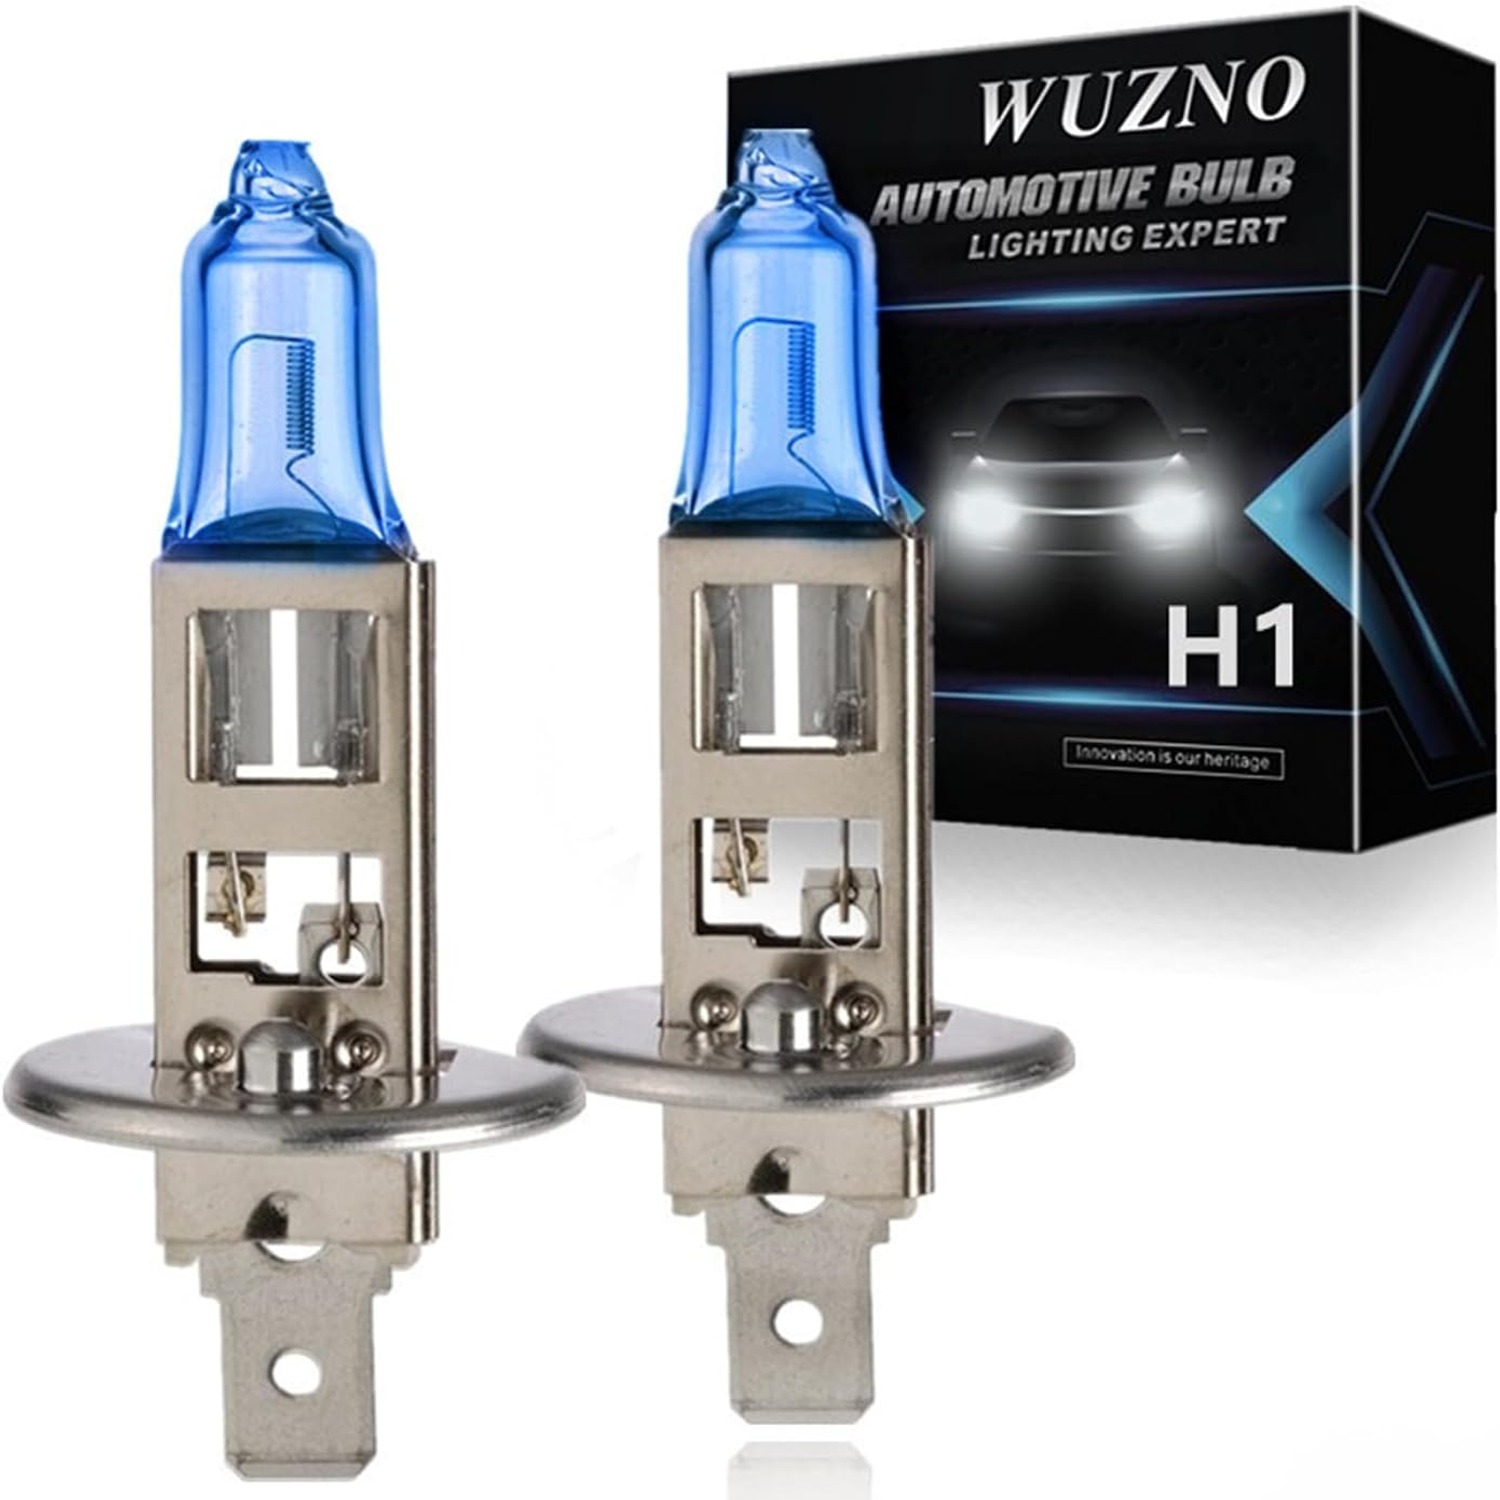
A pair of H1 halogen headlight bulbs is the simplest fix for that. These are supplied two to a pack, rated at 12 volts and 55 watts, with a light colour quoted at 5000 Kelvin. They replace an H1 bulb, and only an H1 bulb.
What H1 actually means
It tells you the physical shape of the bulb base and how it sits in the headlamp. An H1 bulb has a single filament, a flat metal mounting tab, and one spade terminal for the electrical connection.
That single-filament design matters. A single-filament bulb does one job, which is why carmakers often use H1 for main beam in a four-lamp setup, or for dipped beam where a separate bulb handles main beam. Some fog lamps use it too. The headlamp design decides the job, the bulb just supplies the light.
What you cannot do is swap codes. H1 will not fit an H4 socket, an H7 socket, an H11 socket or anything else. The tabs are in different places and the terminals are different. There is no adapter worth using. So before anything else, confirm the code.
Confirming the fitting before you order
Two reliable methods, and both take a few minutes.
The first is the owner manual. If you have lost the paper copy, a digital one is often available.
The second is more direct. Open the bonnet, find the back of the headlamp, pull the dust cap and remove the bulb. The code is printed or moulded into the metal base. If it says H1, you are in the right place. If it says anything else, this is not the bulb for your car.
Doing this before you order saves a return. It also gives you a dry run of the actual job, so you know whether it is a five minute task or one that needs the wheel arch liner out.
The 12 volt, 55 watt specification
Most passenger cars run a 12 volt electrical system, and 55 watts is the common rating for an H1 halogen bulb. Those two numbers together mean the bulb draws roughly the current the wiring, the fuse and the switchgear were designed around.
That is a quiet advantage of staying with halogen. There is nothing to add. No control box to tuck behind the headlamp, no resistor pack bolted to the chassis, no spare connectors. The bulb plugs in, the clip goes back, the dust cap seals and you are finished.
If you are working on a commercial vehicle, check the voltage on your old bulb. Some run 24 volt systems, and a 12 volt bulb is the wrong part for those.
What 5000 Kelvin looks like on the road
Kelvin measures colour, not quantity. A low number is warm and yellow. A high number leans blue. At 5000 Kelvin the light reads as a clean white with very little yellow in it.
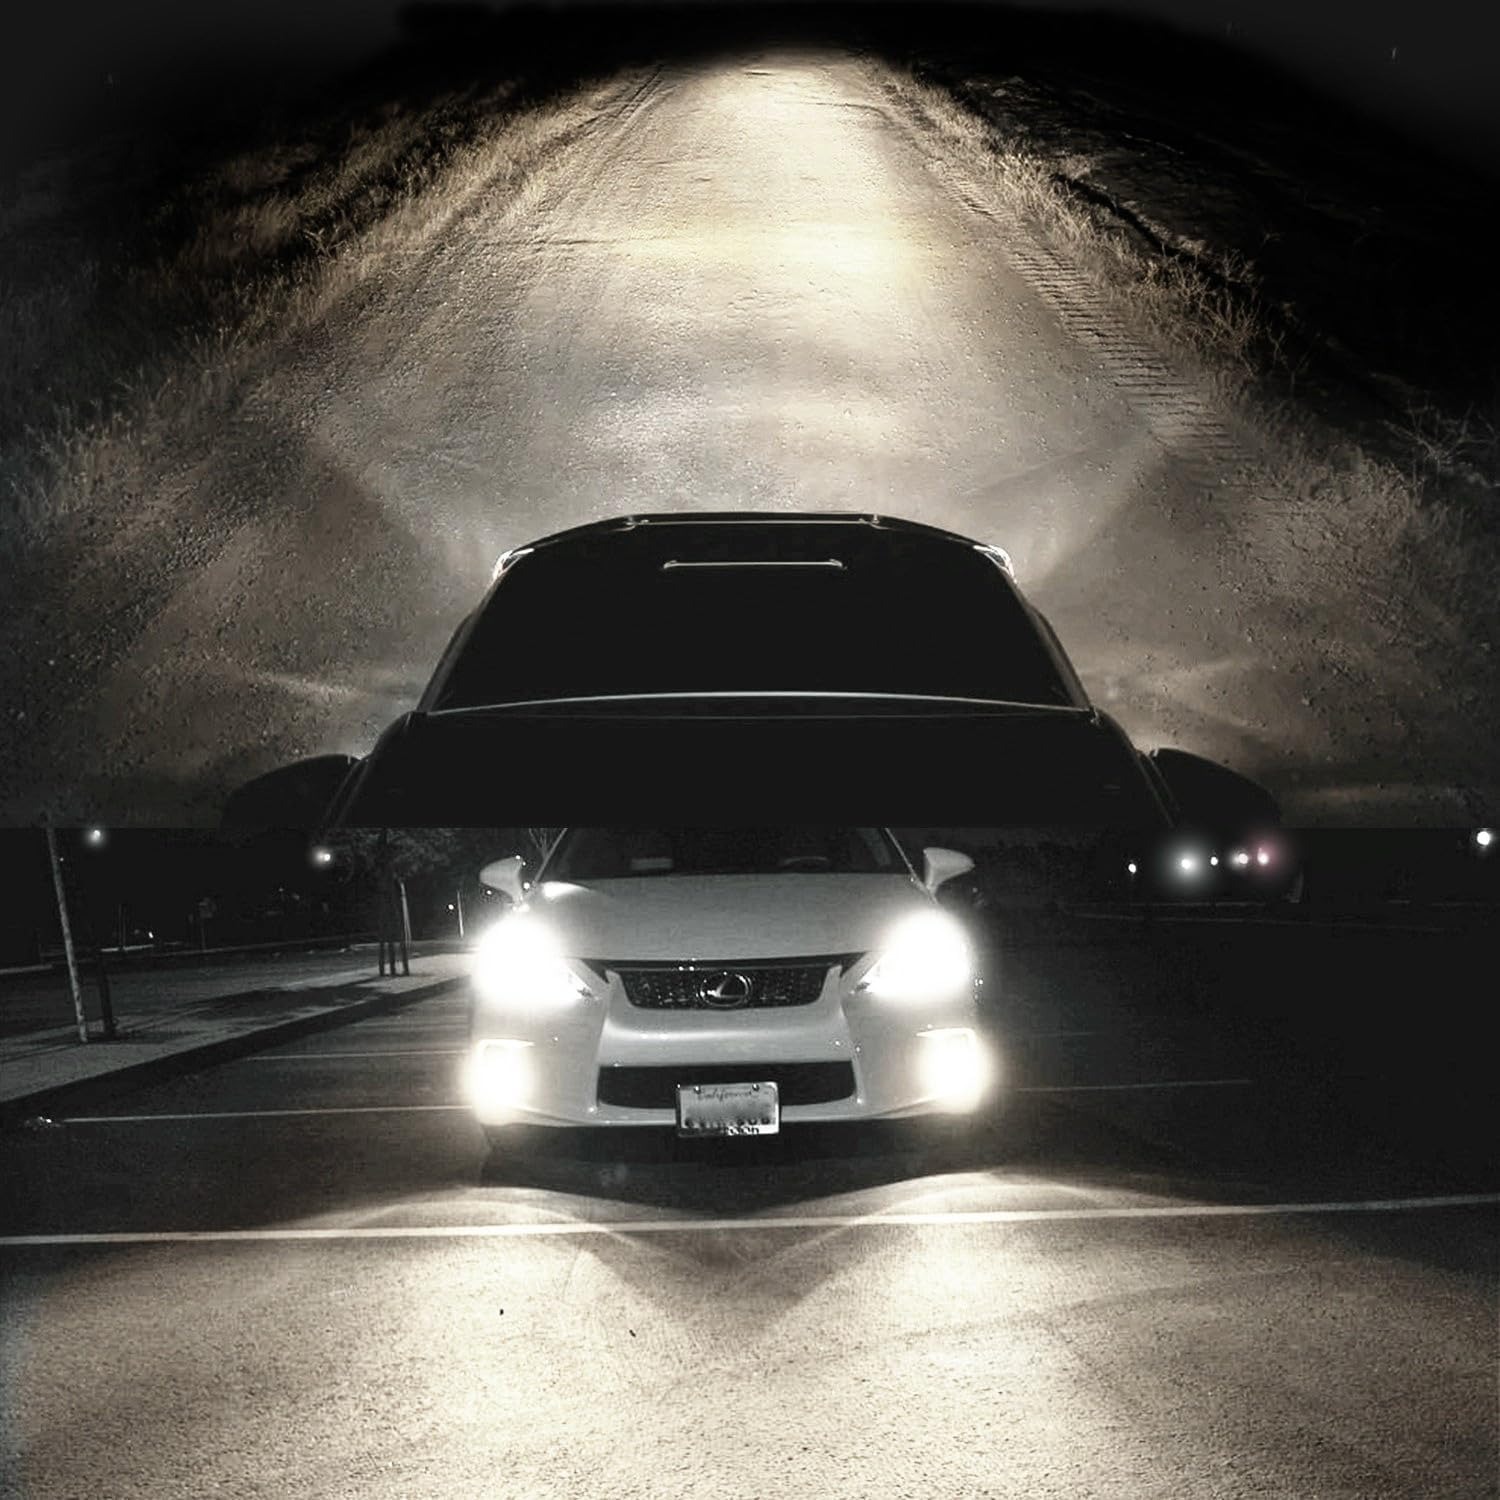
In practice that means road markings, white signs and wet surfaces look a bit crisper than they do under a warm yellow bulb. Parked next to a car with older standard bulbs, the difference in tone is easy to see.
It is worth being honest about what colour cannot do. The shape, reach and cut-off of your beam come from the headlamp unit, the reflector or projector, and the aim. A whiter bulb changes the character of the light. It does not redesign the optics. If your lenses are yellowed and hazy from years of sun, polishing them will do more for your night vision than any bulb change.
Why the pack contains two
Bulbs age at a similar rate because they do the same hours. When one goes, the other is usually not far behind. Replacing a single bulb leaves you with one fresh light and one tired one, and the mismatch is visible to you and to oncoming drivers.
Fitting both at once gives you an even pair. The colour matches, the output matches, and the car looks right from the front. It also means you are not doing the same awkward job again in a few weeks.
Fitting it without ruining the new bulb
Two rules do most of the work.
Keep your fingers off the glass. Skin leaves an oil film on the quartz, and when the bulb heats up that film can bake on and create an uneven hot spot. Hold the bulb by its metal base or plastic collar. If you slip and touch the glass, wipe it down with a lint-free cloth and a little methylated spirit before fitting.
Let everything cool first. Headlight bulbs get very hot in normal use, and the metalwork around them stays warm for a while after the lights go off. Switch off, give it time, then work.
Beyond that, it is a tidy job. Dust cap off, unclip the retaining spring or wire clip, unplug the spade connector, lift the old bulb out, seat the new one so the tab lines up with the notch, clip it back, reconnect, refit the cap. Make sure the dust cap seats properly. A loose cap lets moisture into the headlamp, and moisture is a reliable bulb killer.
Who this suits
Anyone running an H1 halogen headlamp who wants a like-for-like replacement without adding hardware. That includes drivers of older cars where halogen is simply what the car was built with, people who want a spare pair in the boot, and anyone who has just had one bulb fail and wants to do both sides properly.
It also suits the cautious buyer. There is no module to go wrong, no fitment compatibility list to decode, and nothing about the electrical load that the car has not already handled for years.
What we are not claiming
This is an H1 halogen bulb, 12 volts, 55 watts, 5000 Kelvin, two per pack. If you need a bulb carrying a specific marking, read what is printed on your old bulb and ask us before ordering so you are not guessing.
Where we do not know something, we say so rather than filling the gap.
Looking after them
Once fitted, these bulbs look after themselves. The headlamp lens is the part that needs attention. Wash it along with the rest of the car and, if the plastic has gone cloudy, a restoration kit will recover a surprising amount of light.
For spares, leave them boxed. The original packaging protects the glass and stops the bulb rolling around loose in the boot. Keep them dry and out of direct sunlight, and store them upright if you can.
The short version
Check your old bulb says H1. Confirm your car runs 12 volts. Buy the pair rather than a single. Handle the new bulbs by the base, keep bare fingers off the glass, and let hot parts cool before you reach in.
Do that, and a job most people dread turns out to be one of the easiest improvements you can make to winter driving.